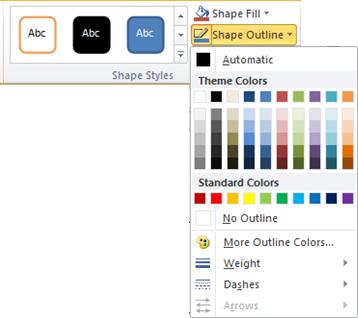
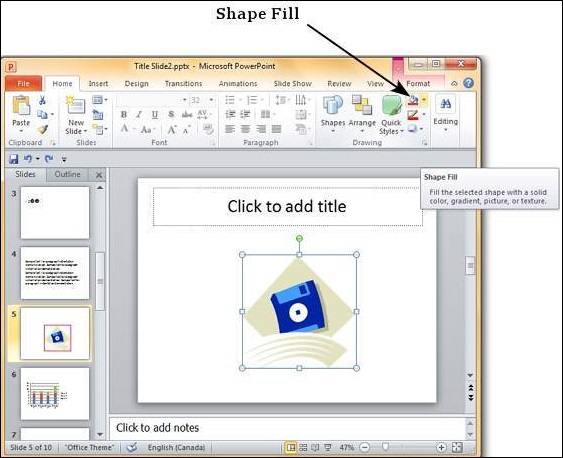
Follow the steps below to learn how to add borders to your powerpoint slides. Click on shape outline under drawing option.

There is another way to add borders.

How to add border in powerpoint presentation.
The border will be embedded at the edge of the slide and you can adjust the color thickness transparency style and more.
Open up your presentation and select the slide to which you want to add a border.
Adding a border to a slide using a shape outline.
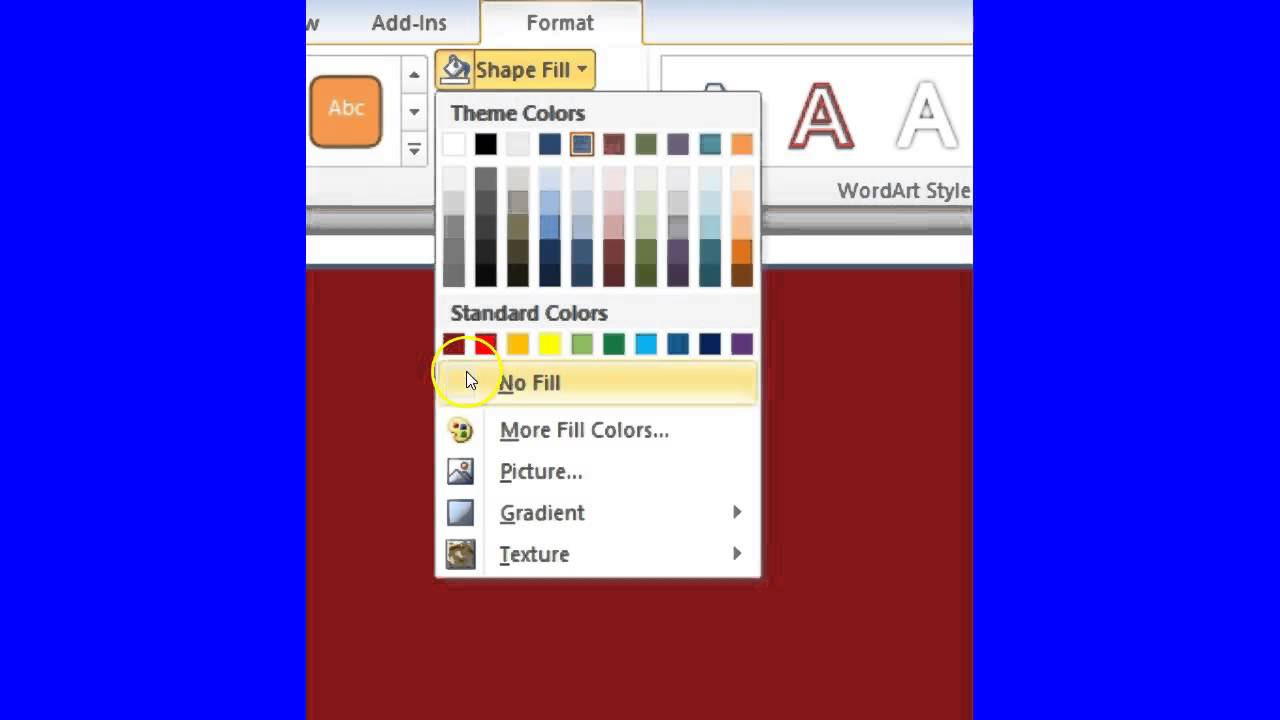
On the drawing tools format tab click the shape outline button and then click no outline.
You can create just about any look you want whether you want a rocket border for a science presentation or just want a simple border to give your presentation a clean and organized feeling.
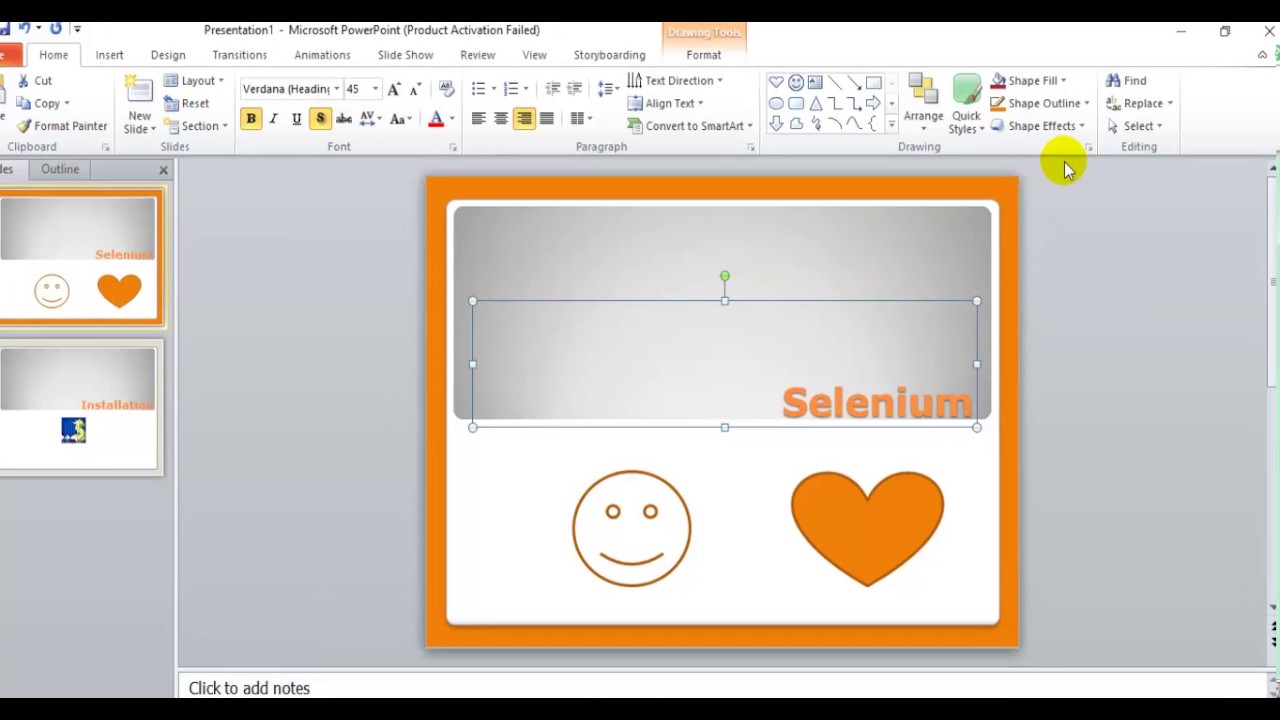
Switch to the insert tab and then click the shapes button.
Select rectangle and draw the shape onto your slide.
Select no fill for the fill color.
Right click the rectangle and select format shape.
Open your powerpoint file and follow this instruction.
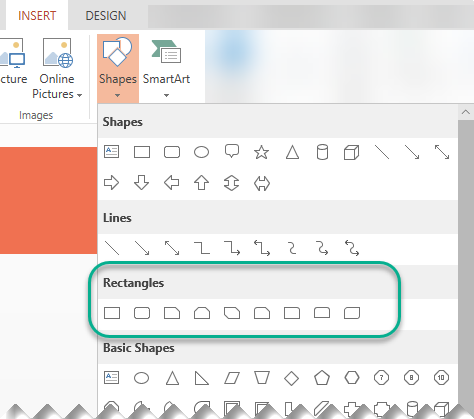
Select a shape from the rectangles category.
In this example were using a basic rectangle with squared edges.
Go to the insert menu.
Choose formatpicture stylespicture border on the ribbon.
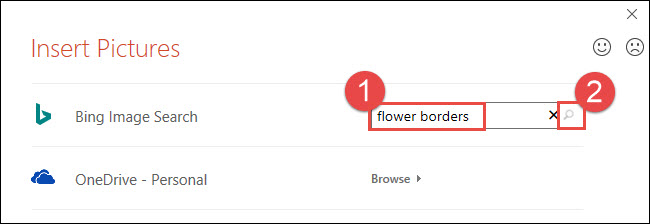
Then click on clip art.
Select shapes rectangles.
Apply more picture border design options.
A crosshair symbol displays.
To apply a border to a picture.
Select an image border format option.
Repeat steps 1 and 2 for the early morning eye opener text box.
In the illustrations group click on shapes.
Click insert and click the shapes drop down menu.
Click on weight and choose the size of the borders.
Select a shape from the rectangles category.
Hold the left mouse button and drag the cursor to the bottom.
You can choose other shapes if you wish.
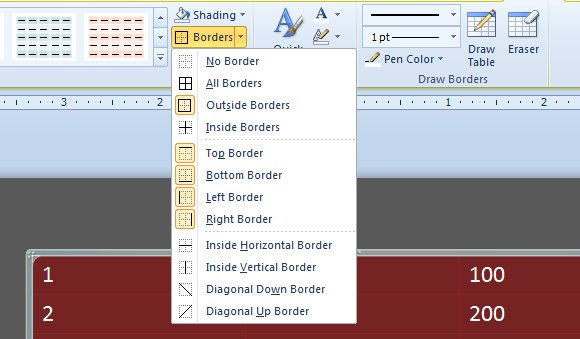
How to apply and remove borders in powerpoint.
First go to the insert tab within the illustrations group.
This reveals the picture border menu.
Click the insert tab on your ribbon.
Select the blue plate special text box.
In this guide im going to show you how to add a border or frame on the powerpoint slide using the shapes tool.
On slide 4 select the quick lunch text box.
How to quickly add powerpoint ppt border designs 1.
Once youre at the clip art task pane you can search for borders.
Create a simple border by using the outline of a shape.
Apply the powerpoint image border to your image.
Select a line color that suits you.
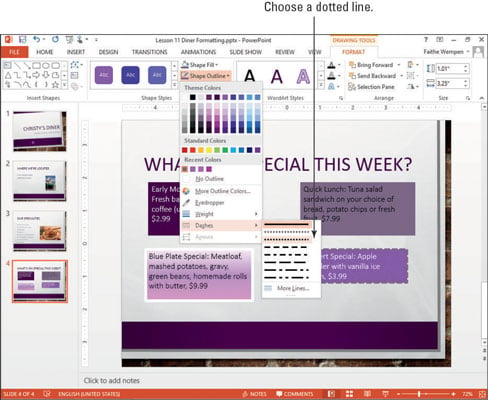
Choose the border color weight the width of the border lines and the pattern of dashes you want to use.
Adding a border to a powerpoint presentation makes your presentation visually appealing look which will capture your audiences attention.
To draw the shape to the size you want place the cursor at the top left corner.
Click on shape outline to change the color.


.jpg)
No comments:
Post a Comment